10 minutes
Run a Nym mixnode
In this post you’ll learn how to configure and run your own Nym mixnode on a virtual private server (VPS). If you’re new to these terms, don’t worry. Before diving into the guide itself, I’ll provide an overview of Nym and why you might want to get involved.
Note that this guide draws from my own experience setting up a mixnode by referring to Nym’s own documentation as well as other online resources.
What’s Nym?
Nym is a protocol developed by a team of programmers and researchers passionate about defending against mass surveillance by providing a new, more effective means of anonymous networking.
Nym improves on existing alternatives via mix-networking. The Sphinx packet format renders all data packets a uniform size, the traffic is mixed probabilistically with timing obfuscation, cover traffic is added, and multiple hops ensure users do not have to trust a single node. This mixing defeats the kinds of traffic-analysis attacks that can deanonymize packets on VPNs, Tor and I2P. In addition, Nym uses blockchain technology to decentralize the operations of the mixnet so that the network has no centralized points of failure.
You can learn more about how Nym compares with other well-known networking protocols and services by reading the FAQs and the Nym litepaper and whitepaper.
What’s a mixnode?
A mixnode is one of the key pieces which make up the Nym topology. It’s a node (i.e. a server), which receives packets, mixes them, then passes them on with a delay timer, which means it’s impossible to analyse traffic based on timing. It’s the shuffling of many packets in this way that provides users with privacy and, depending on the individual’s own operational security (OPSEC), true anonymity. This anonymity will provide many around the world with the means to safely make transactions with cryptocurrencies such as Monero, communicate with friends and family, share sensitive information – or conduct any other business which is their business and theirs alone.
Getting started
First stop, the node itself. In the time it takes you to drink your tea or coffee, you’ll have direct shell access to your own virtual private server (VPS).
Go to https://linode.com/latenightlinux. This is one of many Linode promotional links which will give you $100 credit for 60 days so you can try out their service. This is the same link through which I signed up to try out Linode myself, but of course you can also go to their homepage to sign up the normal way. If you only want to use Linode for some anonymous, no-strings-attached testing, I recommend signing up with an AnonAddy or Firefox Relay email address.
Once your account is verified, you’re ready to create your first Linode. Linode provides some simple options to get you started: distribution, region and resource quota plans. Location is up to you, but for distribution, I recommend Debian 10, which, at the time of writing, is Debian’s stable release.
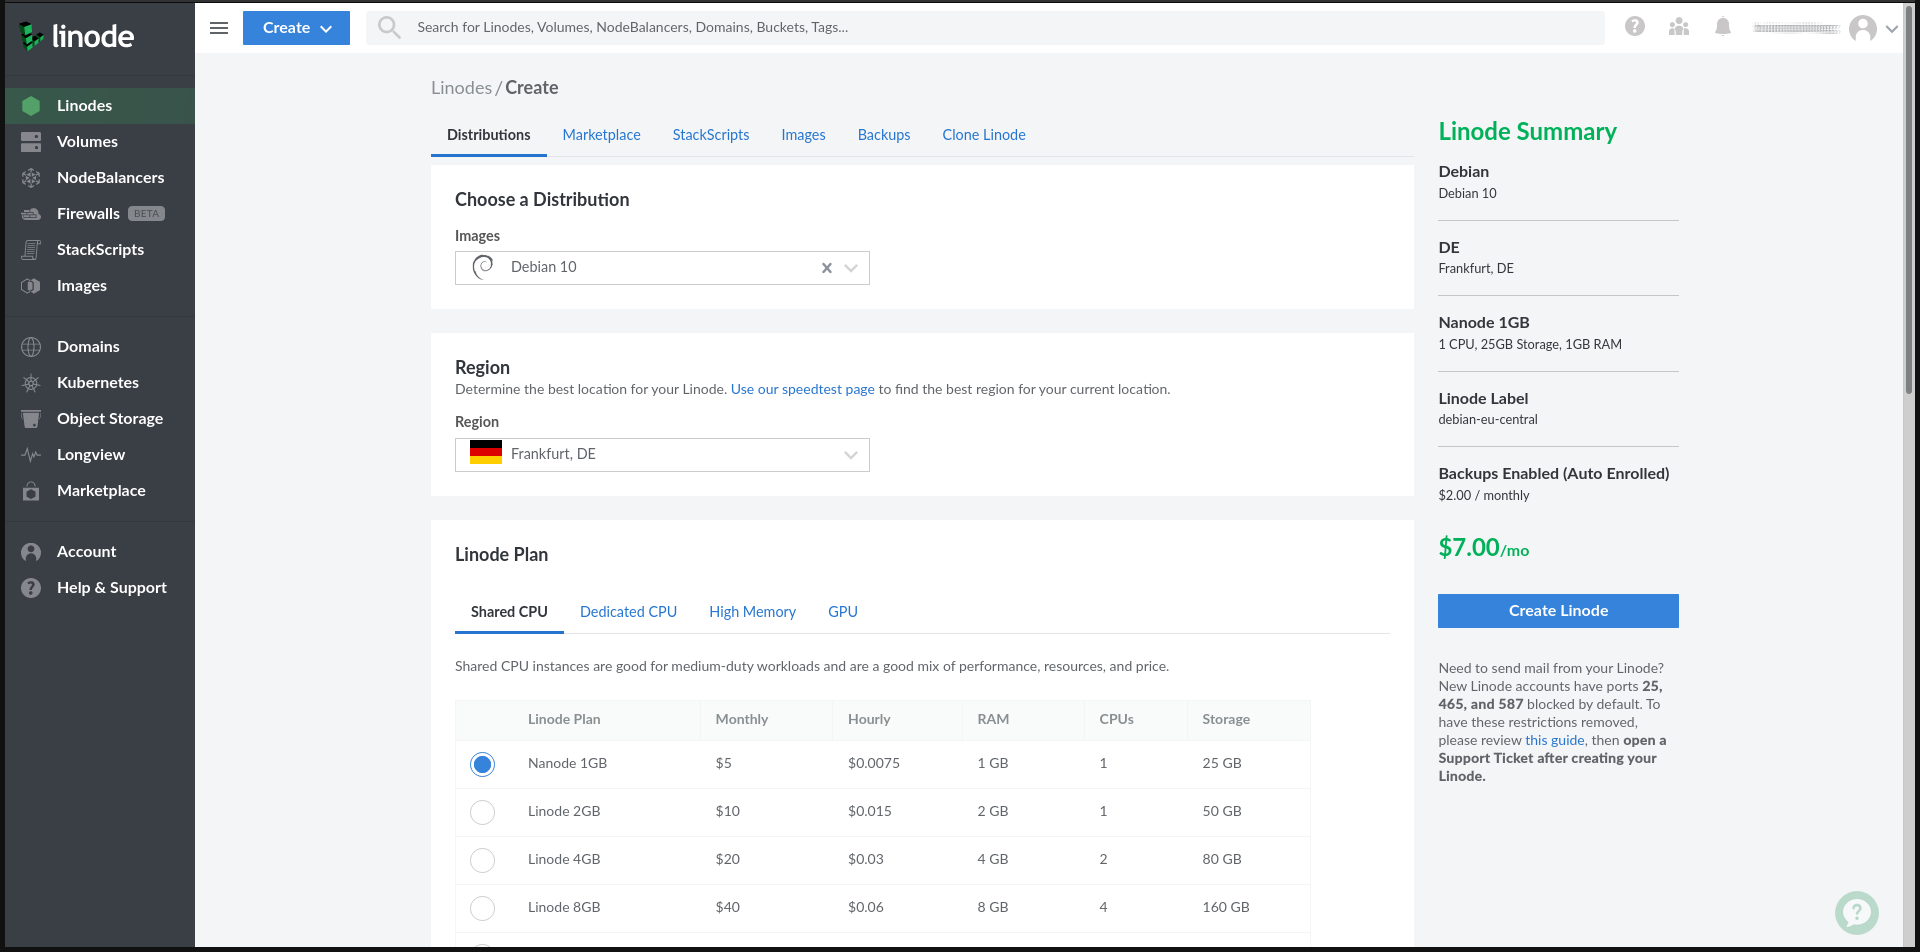
While your Nym mixnode will need to handle a large number of simultaneous network connections (ideally over both IPv4 and IPv6), it’s very light on resources, using barely any of your Linode’s processing power or memory, and network transfer rates will also be very low. This means you can safely go with the most affordable Linode offering, costing only $5 per month and consisting of:
- 1 CPU core
- 1GB RAM
- 25GB disk space
- 1.6TB network transfer
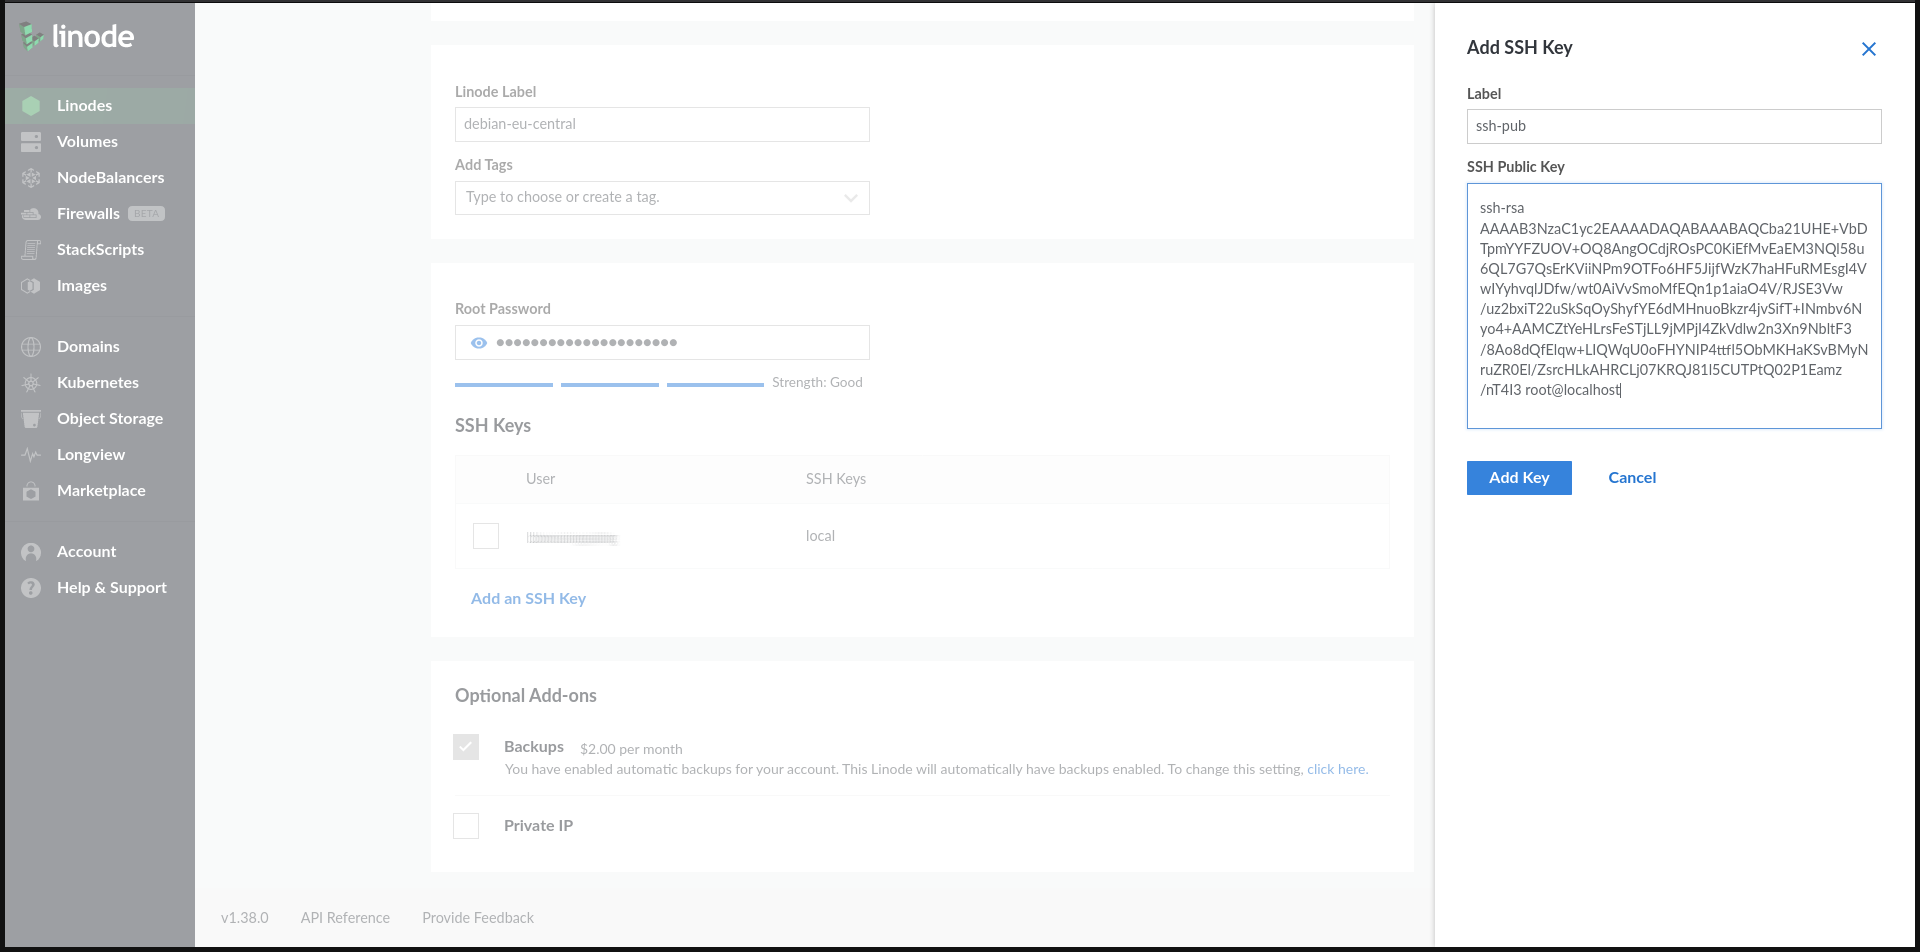
Next, you’ll want to set a strong root password and add your SSH public key. This will give you quick and passwordless shell access to your Linode from the comfort of your local terminal.
Install and set up
Once you’ve first logged into your VPS via SSH, by default you’ll be logged in as the user root. Note that there are a number of important – but simple – security steps you’ll want to consider before proceeding with setting up a public-facing server. These steps include:
- Securing SSH access
- Configuring a firewall
- Setting up service/task-specific users
- Modifying user access and privileges
- Disabling/removing redundant services/software
- Ensuring the operating system and all packages are up to date
While these steps could be completed in about 10 minutes, they’re outside the scope of this post, so I encourage you to do your own research in these areas before making any VPS a permanent fixture.
Add user
For now, let’s create a new user called admin and then add that user to the sudo group so we can benefit from root privileges sensibly:
adduser admin
adduser admin sudo
Dependencies
Assuming your packages are all up to date, go ahead and install the Nym build dependencies, including Rust and its package manager Cargo:
sudo apt install pkg-config build-essential libssl-dev curl jq curl --proto '=https' --tlsv1.2 -sSf https://sh.rustup.rs | sh
Once the script has exited and the installation is complete, the modification of your path for the new commands means you’ll need to either open a new shell or run the following to configure your current shell:
source $HOME/.cargo/env
Clone the repo
With Rust installed, you’re now ready to proceed with building Nym itself. As this is a new Linode, you’ll likely need to also install Git if you haven’t already done so. This will allow you to clone and build from Nym’s official repository:
sudo apt install git git clone https://github.com/nymtech/nym.git cd nym
The next step is an important one. By default, the branch you’ve just checked out from Nym’s repository will be broken and incompatible with the ’testnet’ (which you’ll soon be joining). Before proceeding, ensure you checkout the correct tag:
git checkout tags/v0.10.0
Build
Enter the following to begin the build:
cargo build --release
With any luck, you should see a long list of green Compiling output:
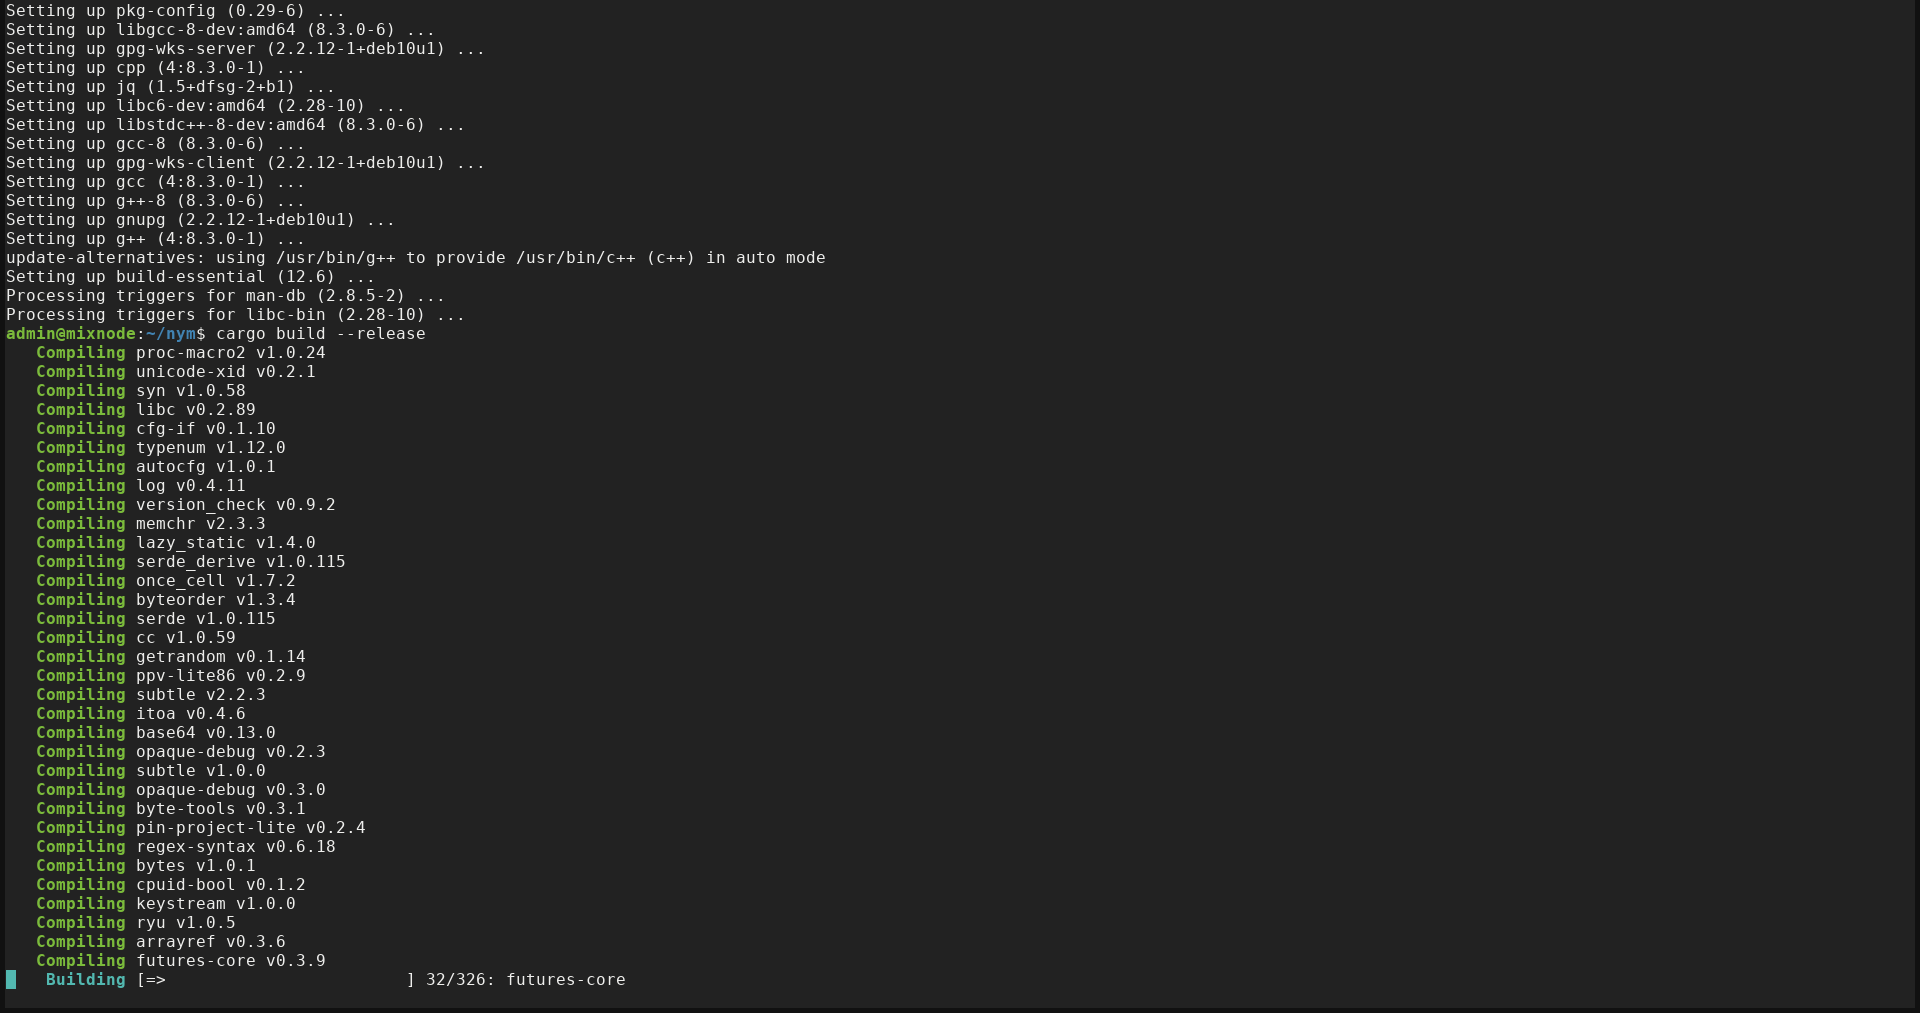
After 5-10 minutes, you should see Finished, at which point all of the binaries will have been compiled into the nym/target/release directory. Let’s go there for our next step:
cd target/release
Init
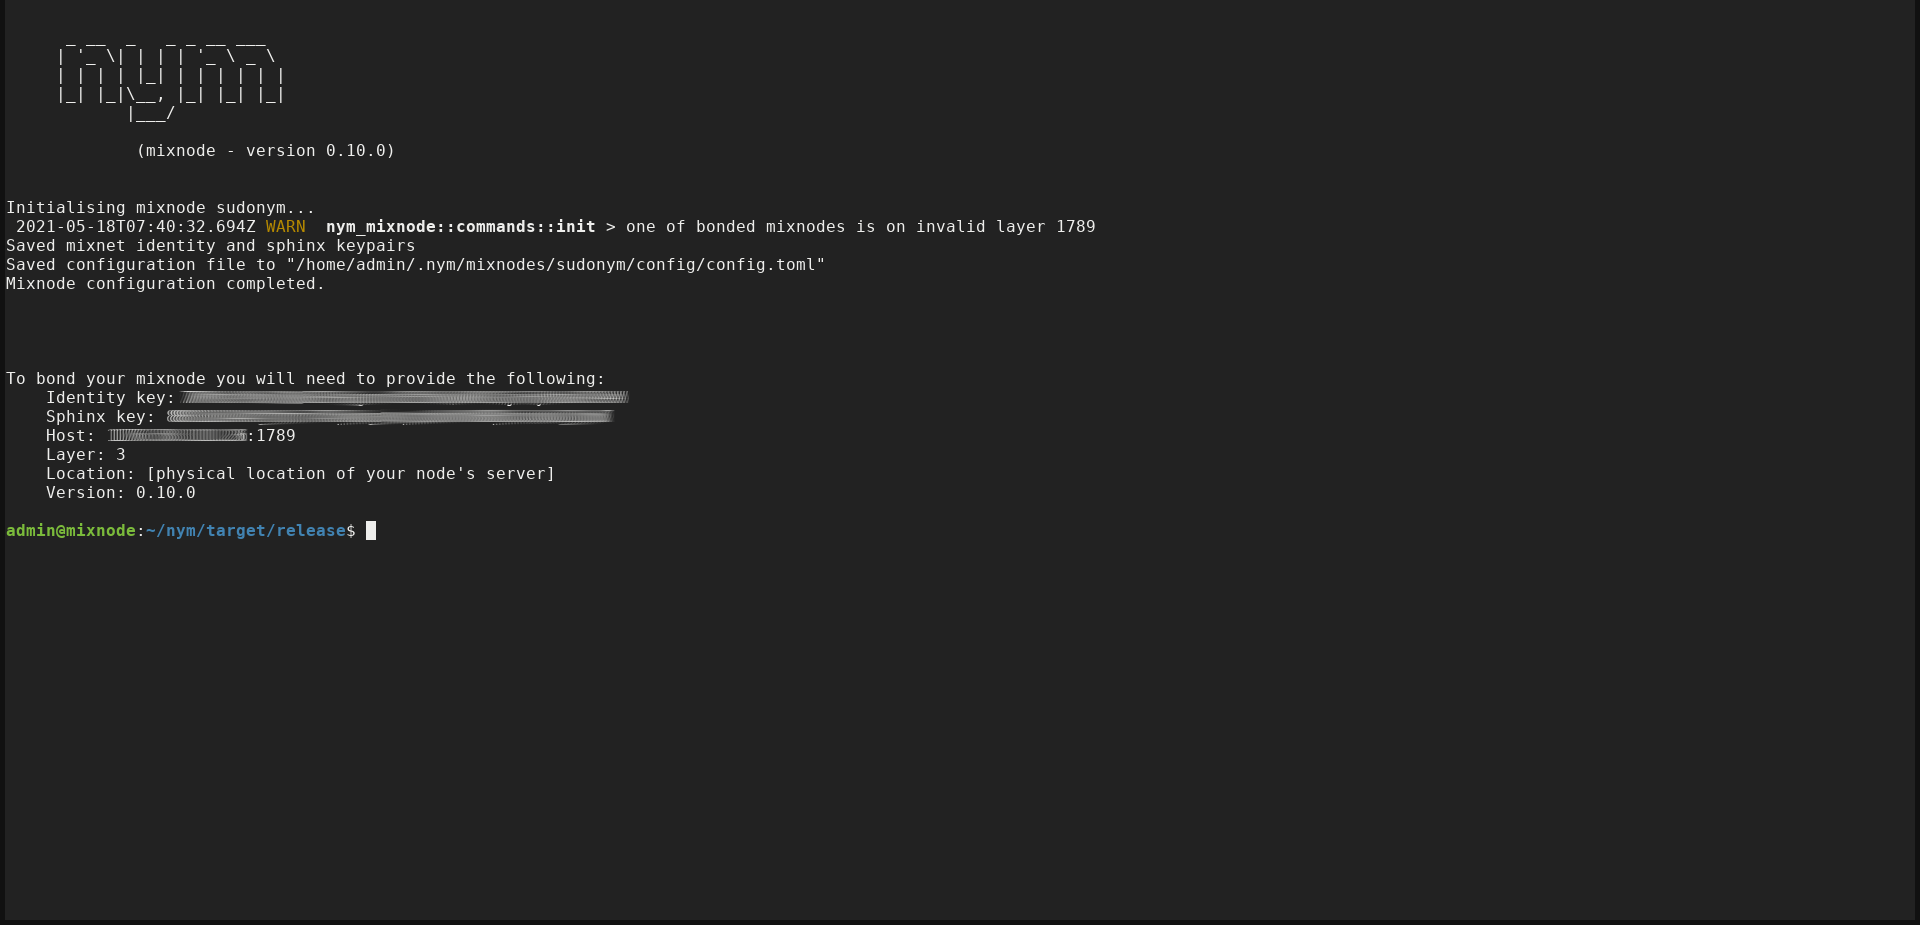
With everything now compiled and built, you’re ready to initialise your Nym mixnode. Running the command below, replace mynode with a name of your choice.
./nym-mixnode init --id mynode --host $(curl ipv4.icanhazip.com)
Allow the port
Your Nym mixnode will be listening on port 1789 by default
(which can always be changed at a later date). If you have a firewall
such as ufw enabled (and you should have), you’ll need to tell it to allow traffic for this port:
sudo ufw allow 1789
Telegram
The mixnode is pretty much ready. But there’s still the crucial final steps of ‘claiming’ and ‘bonding’ it. Unfortunately these final steps currently can only be completed by using the Telegram messaging app. While Telegram isn’t a messaging app I’d ordinarily recommend or use myself, there’s no getting around it if you want to complete the setup of your Nym mixnode. (Hopefully the reliance on Telegram is something that will change in the near future once the community transitions from the testnet to the mainnet.)
If you want to avoid the proprietary code which comes with the official Telegram app and you’re not comfortable using your primary mobile phone number for signing up – neither was I, so I have two key pieces of advice:
- Use the “FOSS” version available in F-Droid
- Buy a burner SIM card which you’ll use only for this purpose
Note that you only need this SIM card for receiving your activation code. So if you have a spare dumb phone lying around in a drawer, you can install Telegram FOSS on your primary smartphone, request the code, check you’ve been sent it to your dumb phone, and as soon as you’ve entered the code, you shouldn’t need that SIM card anymore (and you can always change the phone number for your account at a later date).
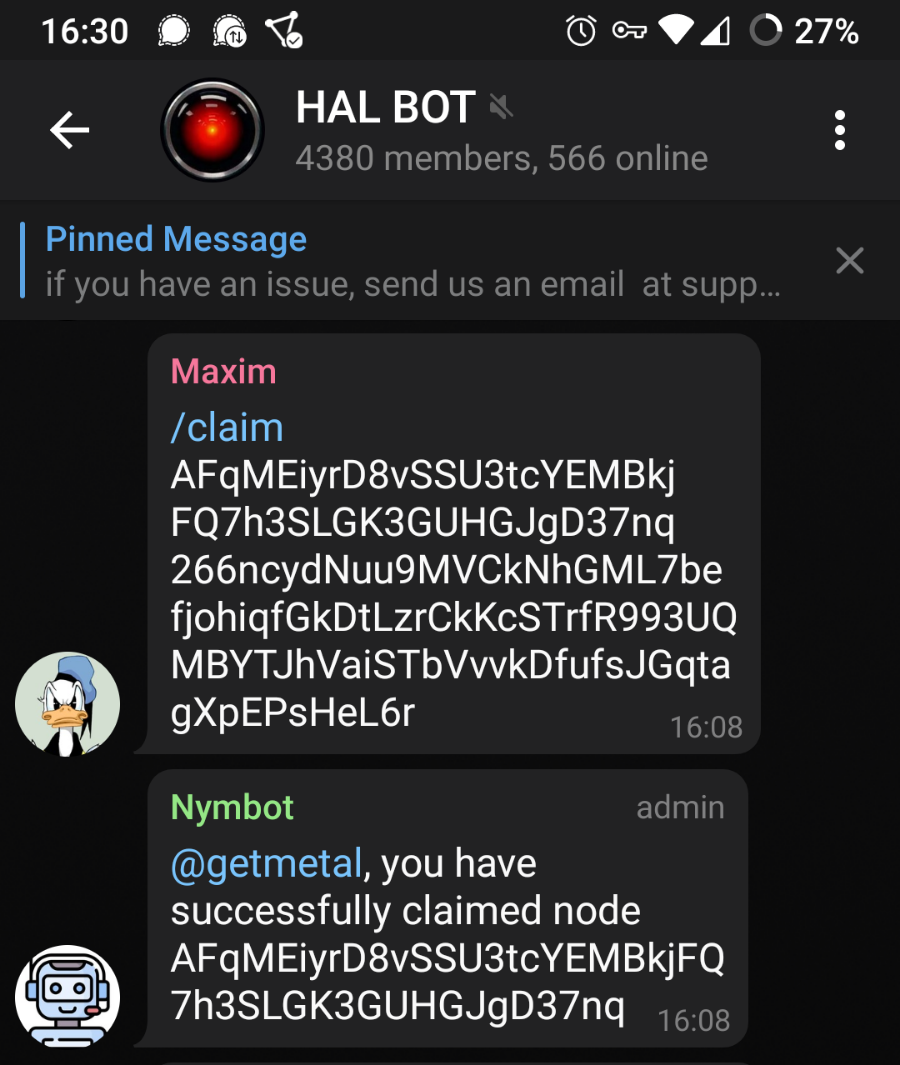
Claim
To ‘claim’ your node in the dedicated bot channel on Telegram and prove your username owns the mixnode, you’ll need to sign your Telegram username with your mixnode’s key:
./nym-mixnode sign --id mynode --text "@myusername"
This will generate a code which looks something like this:
/claim 7xdQ1USuNEZN4WbbiZFPfd59HTqFeNkx4Yo4ZkUBxREJapzf7AxLPodQXic4cfbNziJMLxsftTQsVdm5XKUg8be8ErXhnHunsnmz8EZvuGLwSD98PifCad1f
Copy the snippet from your own terminal, ensuring you don’t include any leading or trailing spaces.
With Telegram installed and activated, join the HAL BOT channel @halbotnym. Paste and send your claim as a message in this channel, and you should instantly receive a confirmation of success from Nymbot.
Create web wallet
Go to https://web-wallet-finney.nymtech.net to create a new testnet web wallet, which will be used to hold your HAL testnet tokens. You’ll be given a new wallet address and a BIP39 mnemonic seed. Ensure you save your seed in a safe place, such as an offline password manager or a safe.
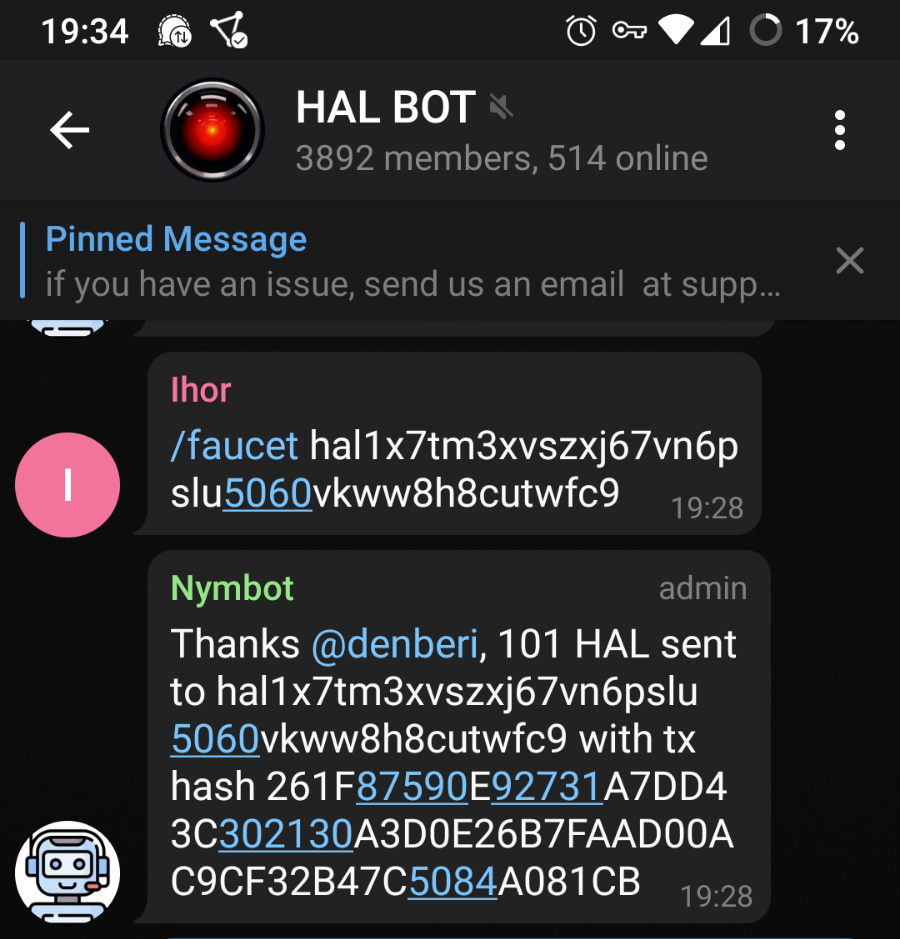
Faucet
The following step can easily go wrong and is not easily fixed if you’re not careful when copying and pasting. Enter /faucet followed by your own address into the HAL BOT chat. Do not copy and paste the following address. Replace it with your own.
/faucet hal1rytmasg5kavx4xasa0zg0u69jus8fn0r5j7nnt
We’re nearly done. Let’s start the mixnode and look out for some key information we’ll need for the next steps:
./nym-mixnode run --id mynode
Bond
Go back to your web wallet and paste in the details it asks for, which will include your identity key, Sphinx key and host address.
You may wonder why it asks for your location when there was no way to configure this for your mixnode before. That’s fine. Just enter your mixnode’s location in the field provided, e.g. “NY” or “London”. If you’re not sure, log into your Linode account and look under the “Region” heading on the page listing your Linodes.
If your tokens were successfully sent to your address in the last step, you should find you’re able to bond your mixnode and verify you have HAL tokens. This also means your mixnode should now be fully operational and actively mixing packets. Let’s find out.
Verify and monitor
Check your mixnode is now listed in the Finney Testnet Explorer (replace myip with your mixnode’s IP address, but keep the double quotation marks):
curl https://testnet-finney-explorer.nymtech.net/data/mixnodes.json | jq -r '.[].mix_node | select(.host | startswith("myip"))'
…and to verify your node is actually mixing packets:
sudo journalctl -u nym-mixnode -o cat | grep "Since startup mixed" | tail -n 3
You should see the output of total mixed packets, which is updated about every minute.
We’re almost done, but don’t go logging out of your SSH session just yet. There’s one more thing you need to do before you can log out, safe in the knowledge your mixnode is continuing to mix packets.
Keep it running
If you were to log out now, your mixnode’s process would ‘hang
up’ and be killed. We don’t want that. So you’re going to create a systemd service file for your mixnode. Once this file is created and its
service enabled, you can start it up and it’ll keep the mixnode running,
even after you’ve logged out.
Stop the mixnode with Ctrl + C before changing to the systemd system directory and creating a new file:
cd /etc/systemd/system sudo vim nym-mixnode.service
In case you’re not familiar with Vim, which should already be installed on your Linode, here are a few basics you’ll need to know before continuing to the next step:
- Pressing the “I” key will drop you into “INSERT” mode, which will allow you to start writing.
- Once you’re happy with your changes, the “Esc” key will take you back out of “INSERT” mode and into “COMMAND” mode.
- Type “:wq” to write your changes to the file and quit.
[Unit]
Description=Nym Mixnode (0.10.0)

[Service]
User=admin
LimitNOFILE=65536
ExecStart=/home/admin/nym/target/release/nym-mixnode run --id mynode
KillSignal=SIGINT
Restart=on-failure
RestartSec=30
StartLimitInterval=350
StartLimitBurst=10

[Install]
WantedBy=multi-user.target
Now enable, start and check the service:
sudo systemctl enable nym-mixnode.service
sudo systemctl start nym-mixnode.service
systemctl status nym-mixnode.service
You should now be able to log out and back in, to find your mixnode is still running.
If you have any issues with the steps outlined above, feel free to get in touch and I’ll do what I can to help get you back on track.
Remember… Anonymity loves company!
Happy mixing!
privacy software finance blockchain networking
2021-05-23 01:00